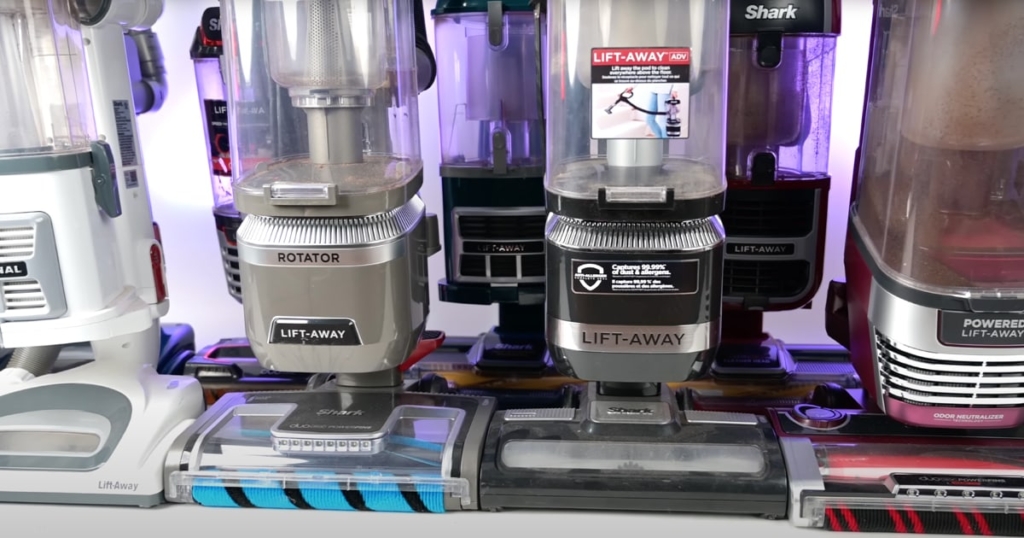
At Vacuum Wars, we have to maintain a whole fleet of vacuums in good condition so that our upright vacuum tests and comparisons show each model at its full abilities. Over time, we have learned that every vacuum needs some cleaning and maintenance, so that it’s always ready to go when we need it.

It’s easy to overlook the importance of simple routine maintenance when so many other appliances we use just seem to work without much input. Vacuums do have a lot of moving parts, and they also work pretty hard handling various amounts, sizes, and types of debris. It’s a hard job for one machine, so while manufacturers do their best to reduce how much user maintenance is required, it still needs to be done.
Maintaining your vacuum ensures your machine operates at peak performance. A well-tended vacuum just cleans better, plain and simple. But even more than that, regular upkeep extends the life of your vacuum, so a bit of time spent now can save you the cost of a new vacuum in the future. So, not only does a happy vacuum make for a cleaner home, it also makes for a fuller wallet. That’s a win-win to us.
RELATED: 4 Common Mistakes When Buying an Upright Vacuum
Understanding Your Vacuum
Before we dive into maintenance tasks, let’s get familiar with the basic parts of your upright vacuum. The heart of your vacuum – the motor – creates suction. This is connected to a dust bag or bin, a filter system, a brushroll for agitating carpets, and usually a hose for above-ground cleaning. Each part plays a vital role in your vacuum’s performance.
Routine Maintenance Tasks
Emptying the Bag or Dustbin
Your vacuum’s dustbin is its stomach – and just like us, it doesn’t like being overfed. Most upright vacuums perform best when their bag or bin is less than half full. Did you know that letting it fill beyond this can significantly reduce suction power? Make it a habit to check the dust level before each vacuuming session. Emptying is usually as easy as removing the bag or bin, opening it over a trash can, and tapping out the dust.
Did you know
Upright vacuums were initially quite heavy: The early models of upright vacuums could weigh up to 50 pounds! Over time, manufacturers have worked hard to reduce their weight without sacrificing power, making them much more user-friendly.
Cleaning the Filters
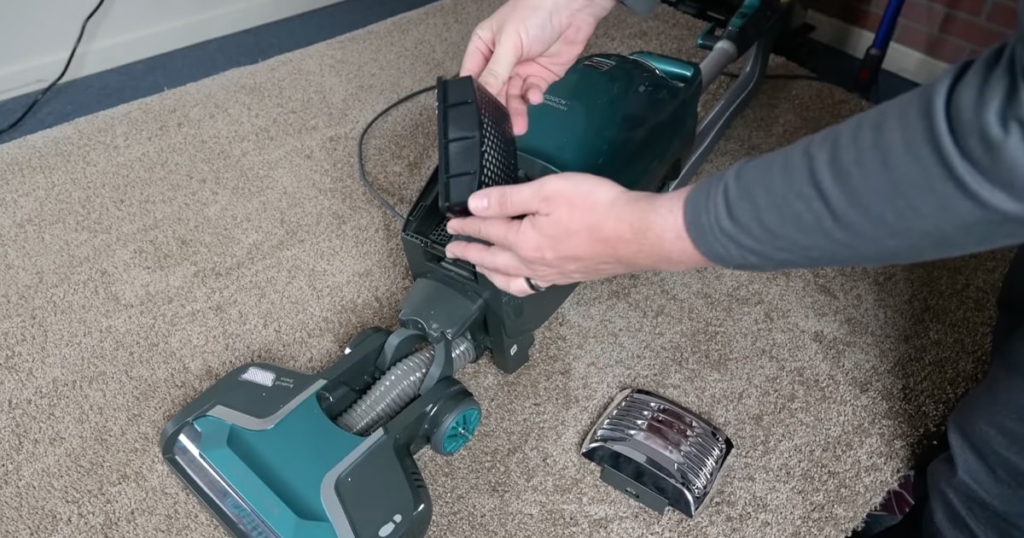
Filters are the lungs of your vacuum. They trap tiny particles and prevent them from being blown back into your home. Many upright vacuums have washable filters – simply rinse them under lukewarm water and let them air dry completely before reinstalling. It’s best to do this monthly, but check your manual – some filters need less frequent cleaning and others need to be periodically replaced.
Checking and Cleaning the Brushroll
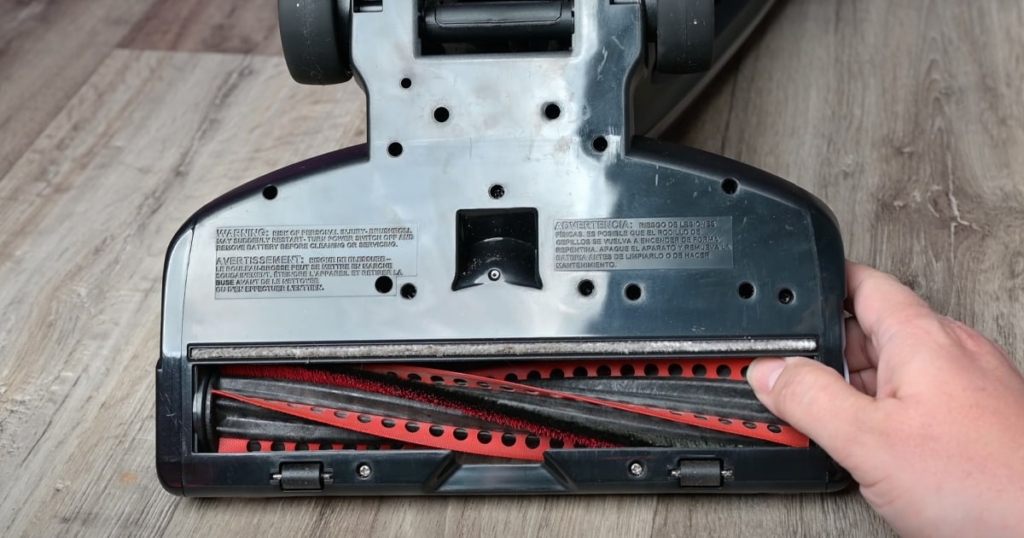
The brushroll is the vacuums’ muscle, agitating your carpets to release dirt. It can easily get tangled with hair and threads, which will reduce its effectiveness, so you should regularly check for and remove any tangles. Most brushrolls have a release mechanism so you can remove them altogether. For removing tangles, small scissors or a seam ripper work well.

Periodic Maintenance Tasks
Inspecting the Vacuum Belt
The belt, usually hidden away, connects the motor to the brushroll. Check it every few months for signs of wear or damage. Replacing a worn belt can be the key to restoring your vacuum’s performance. Remember to unplug your vacuum first!
Hoovering?
The Hoover Company dominated the early upright vacuum market: Hoover, a name synonymous with vacuuming, started selling their version of the upright vacuum in 1908. For many years, they were the go-to brand for upright vacuums, leading to the term “hoovering” being commonly used in place of “vacuuming” in some parts of the world!
Cleaning the Vacuum Hose
The hose is like an arm, letting you reach places that the main unit can’t. Sometimes, it can get clogged. Detach the hose, look through it for blockages, and if needed, shake the clog out or gently clear it away with a long stick or broom handle.

Caring for the Power Cord
Lastly, don’t forget the power cord. They’re pretty resilient, but they can get damaged by being yanked out of the socket or run over by the vacuum when cleaning. Always unplug it gently, coil it loosely to avoid kinks, and keep it safely tucked on the vacuum while being stored.
Troubleshooting Common Issues
Even with regular maintenance every upright will have some kind of issue eventually. Maybe your vacuum has lost suction, has a unique, new smell or it’s making a strange noise. Often, the solution is simple; check the bag or bin, filters, brushroll, belt, and hose as we’ve outlined above. Hopefully inspecting the key parts of your upright reveals a simple fix. If the problem persists, you may need to find a local vacuum cleaner repair.
Keeping your upright in good condition is the key to its long and productive life, and we hope that we have helped you avoid the frustration of a poorly functioning vacuum. So, remember these tips and keep those uprights running how they were designed to!

